Buy a map and follow the marker
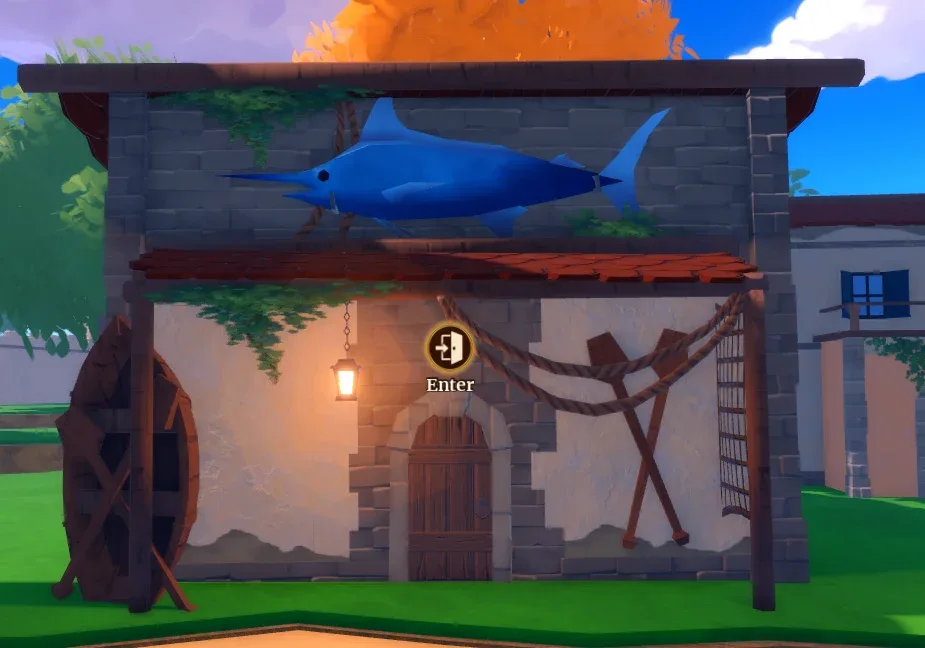
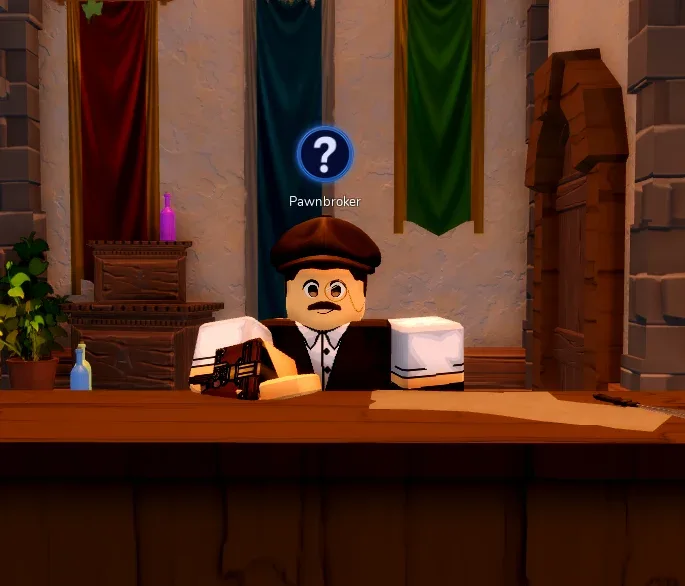
Find the Pawnbroker on Harbor Island. His reference lists a 100-Gold treasure map. This is the treasure-search item, separate from the Shipwright’s world map.
- Buy the treasure map from the Pawnbroker.
- Follow the marker toward the nearby island it indicates.
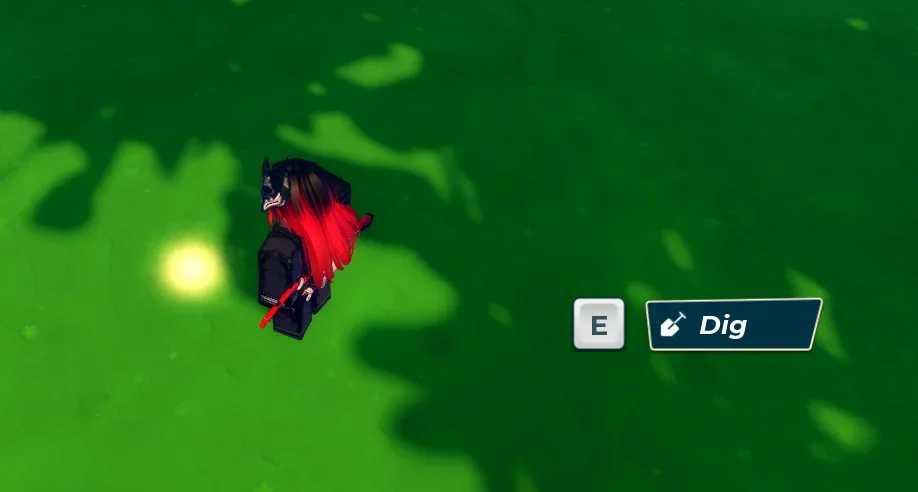
- Find the marked spot on that island and use the digging interaction shown in your client.
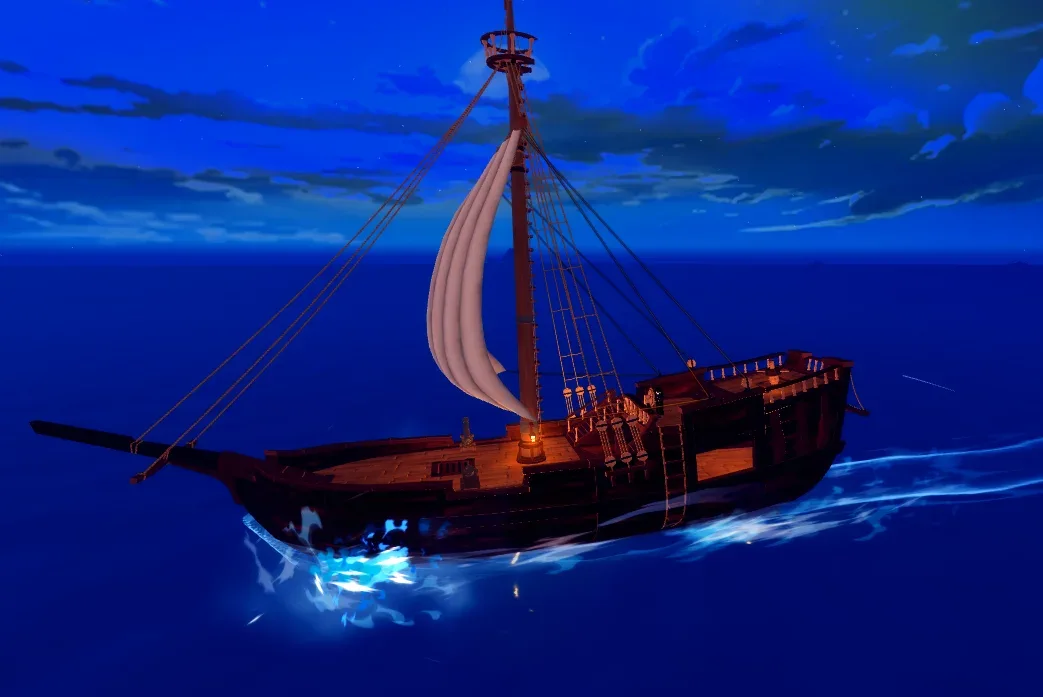
Before leaving Harbor, make sure you can make the return crossing too. The first-boat guide covers the documented Chalupa purchase.
Carry the chest back to your boat
Finding the marker is only part of the loop. The Pawnbroker reference says to dig up the chest and carry it to your boat, then return to sell it.
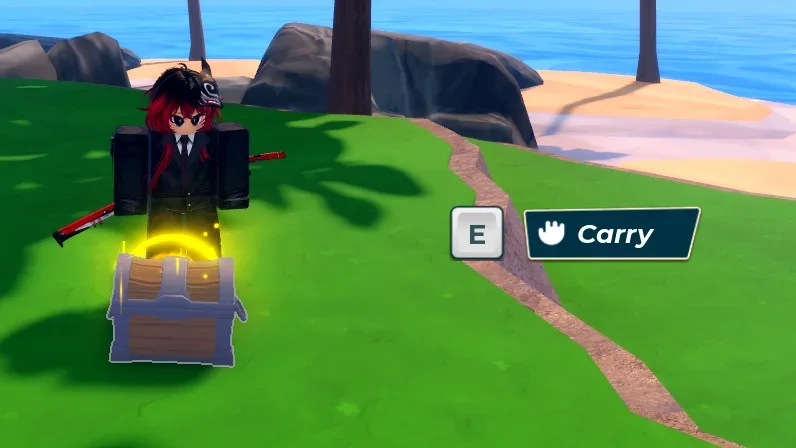
Use the interaction prompts in your game for digging and carrying. We have not verified a shortcut that lets you sell the chest remotely.
Return to the Pawnbroker and sell
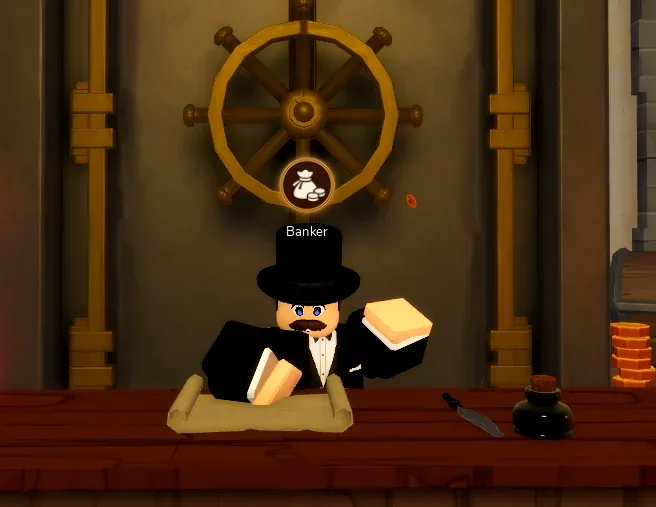
Go back to the Pawnbroker, with the recovered chest, and use the selling interaction. If you do not see a sale prompt, check that you still have the chest and are talking to the treasure NPC rather than the Banker.
The source mentions selling recovered treasure for Gold and sharing Gold with party members. It gives no guaranteed sale price or exact party split. The 100 Gold is the map’s entry cost, not a promised profit.
Which part has stopped working?
| Where you are stuck | Check next |
|---|---|
| No treasure marker | Confirm you bought the Pawnbroker’s treasure map, not the Navigator’s Map. |
| At the island but no chest yet | Follow the marked spot and read the digging prompt. |
| Found the chest but cannot sell | Check that you recovered it, carried it back and returned to the Pawnbroker. |
These checks follow the documented sequence; they are not tested bug fixes. If a prompt is missing, send the step and screen so we can distinguish a changed interaction from the wrong item.